# Functionalities
# Sending messages
This functionality allows you to configure the sending of personalized messages through Whatsapp. To be able to do this you must first register your Whatsapp session within the application.
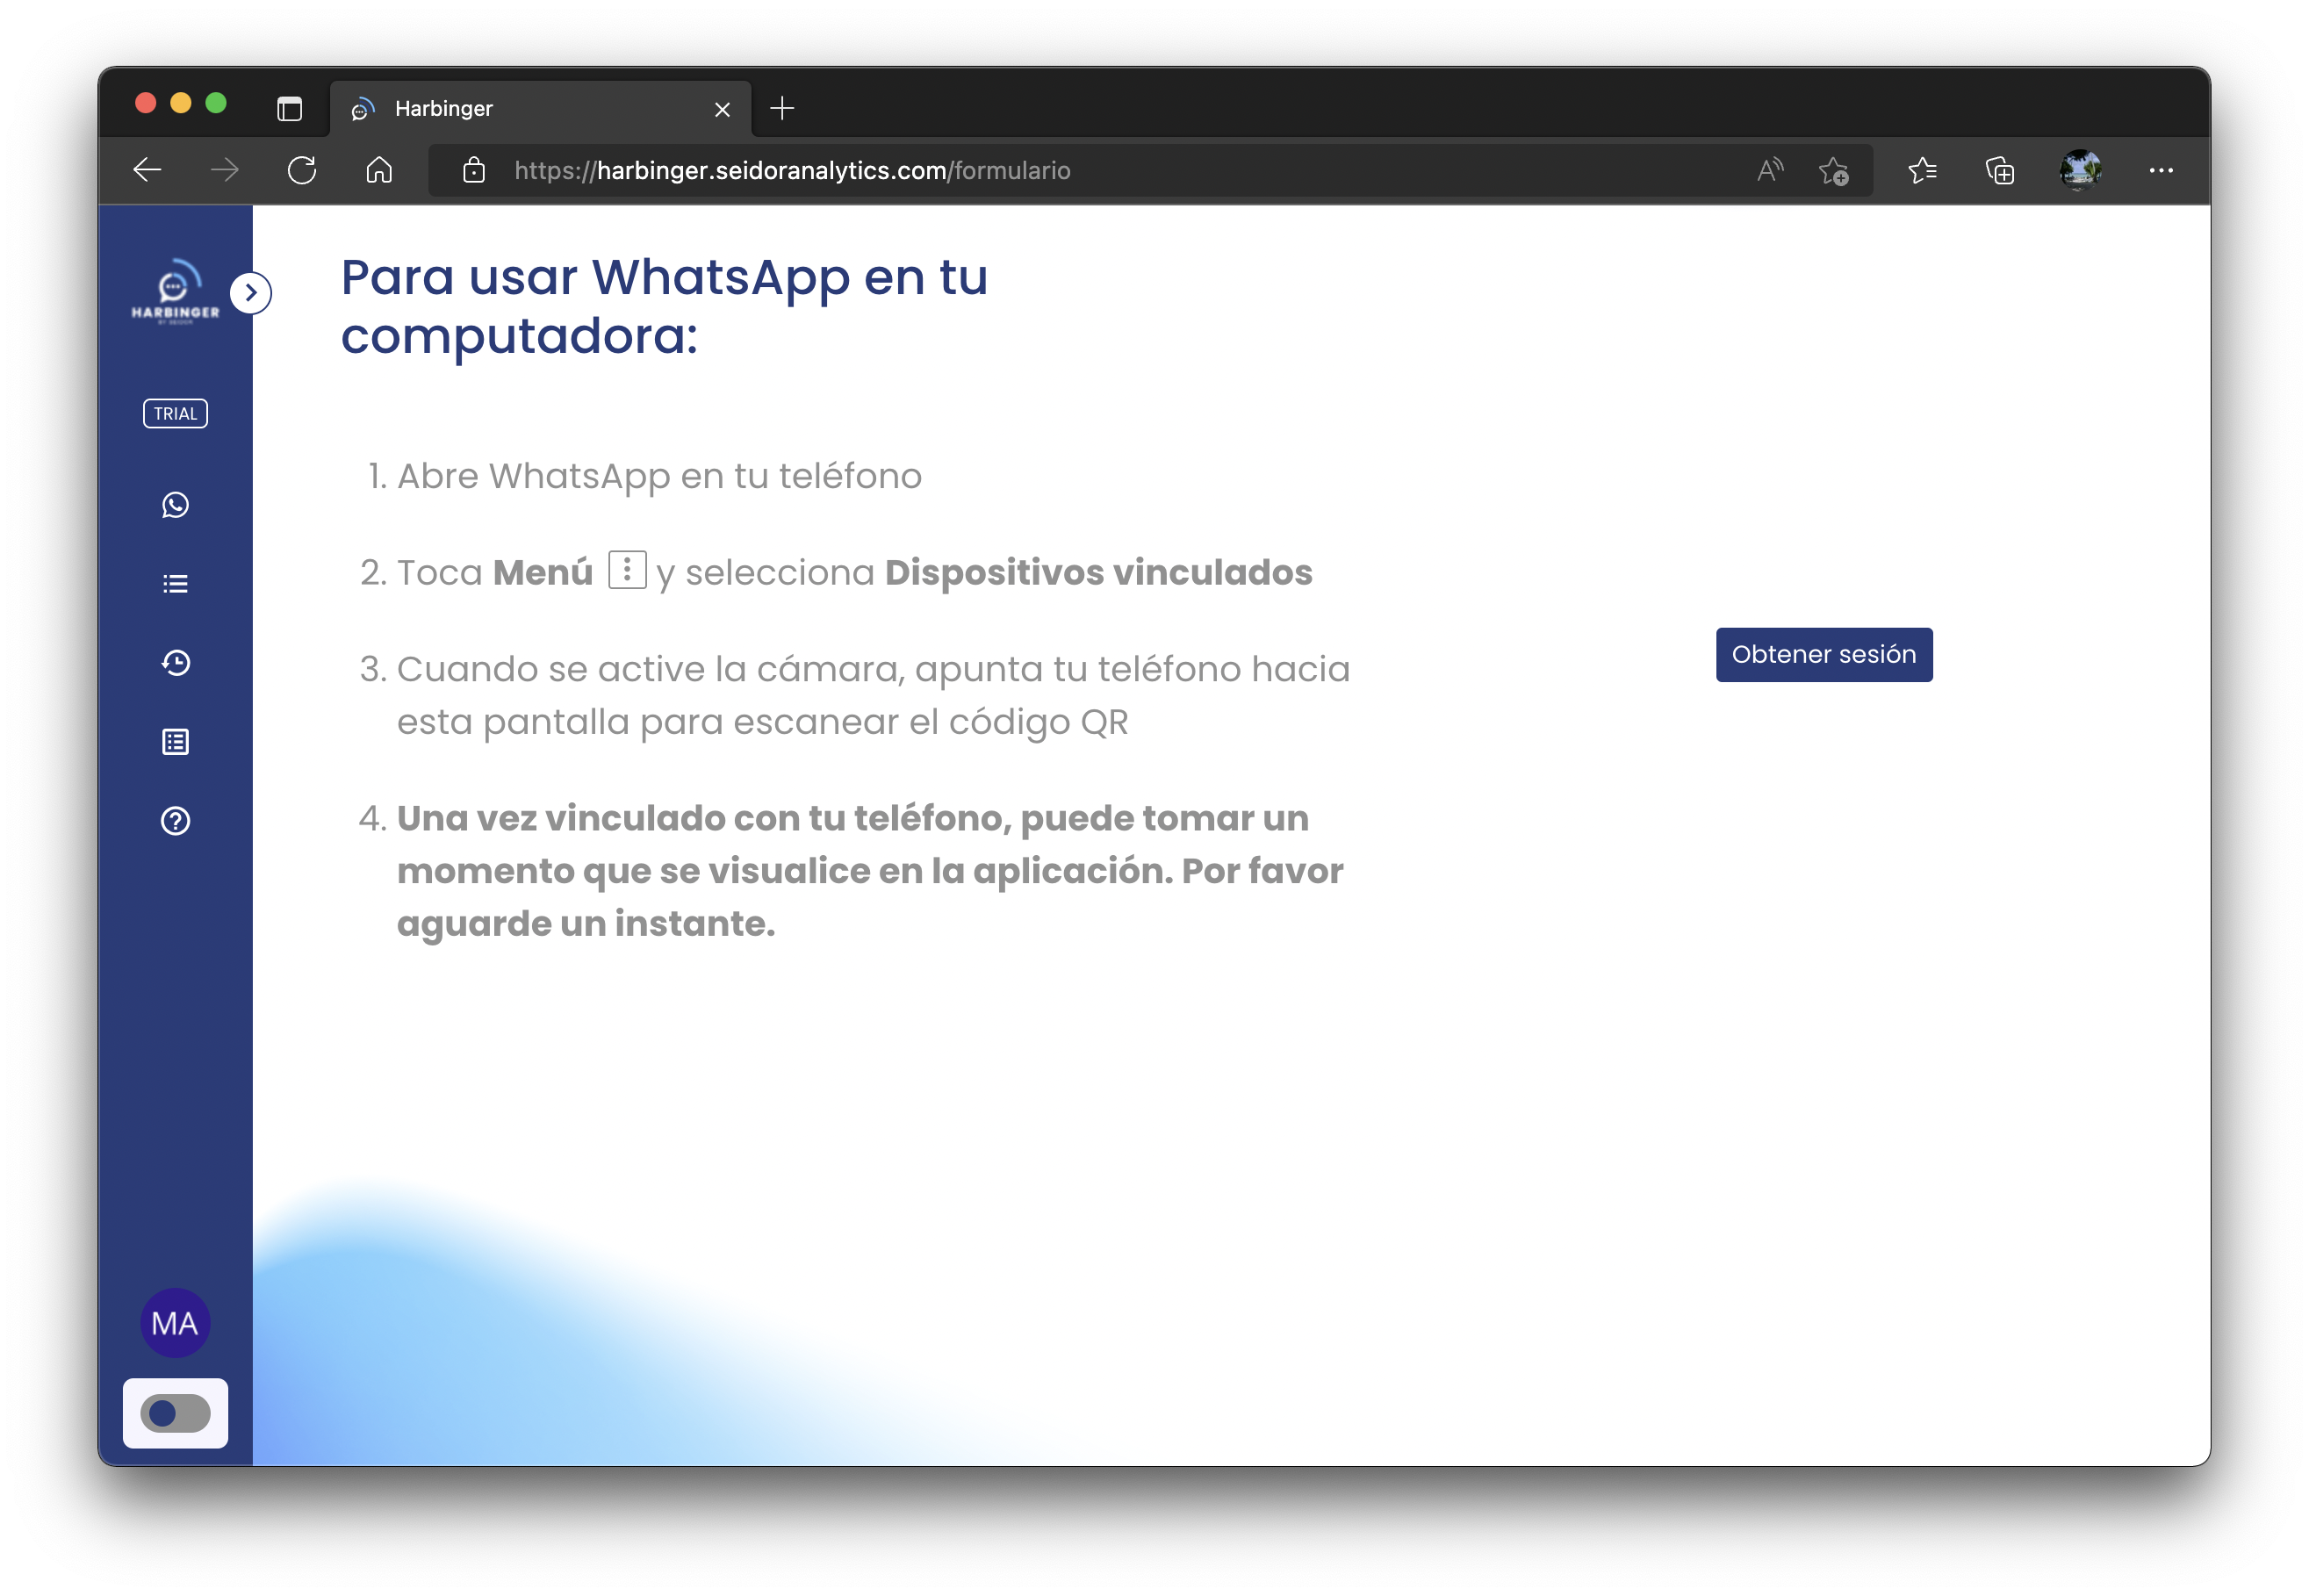
On the next screen you must click on the button Get session and the QR code will appear by which you will be able to associate the Whatsapp session of your mobile device with the Harbinger platform.
Once linked with your phone, it may take a moment for the session to be displayed in the application. Please wait a moment.
Once you have logged into Whatsapp in the left panel you can set the recipients of the message, either by typing the phone numbers by hand or by selecting the contact from a list with the Select list button.
In the right panel you can type the message you want to send automatically to all recipients.
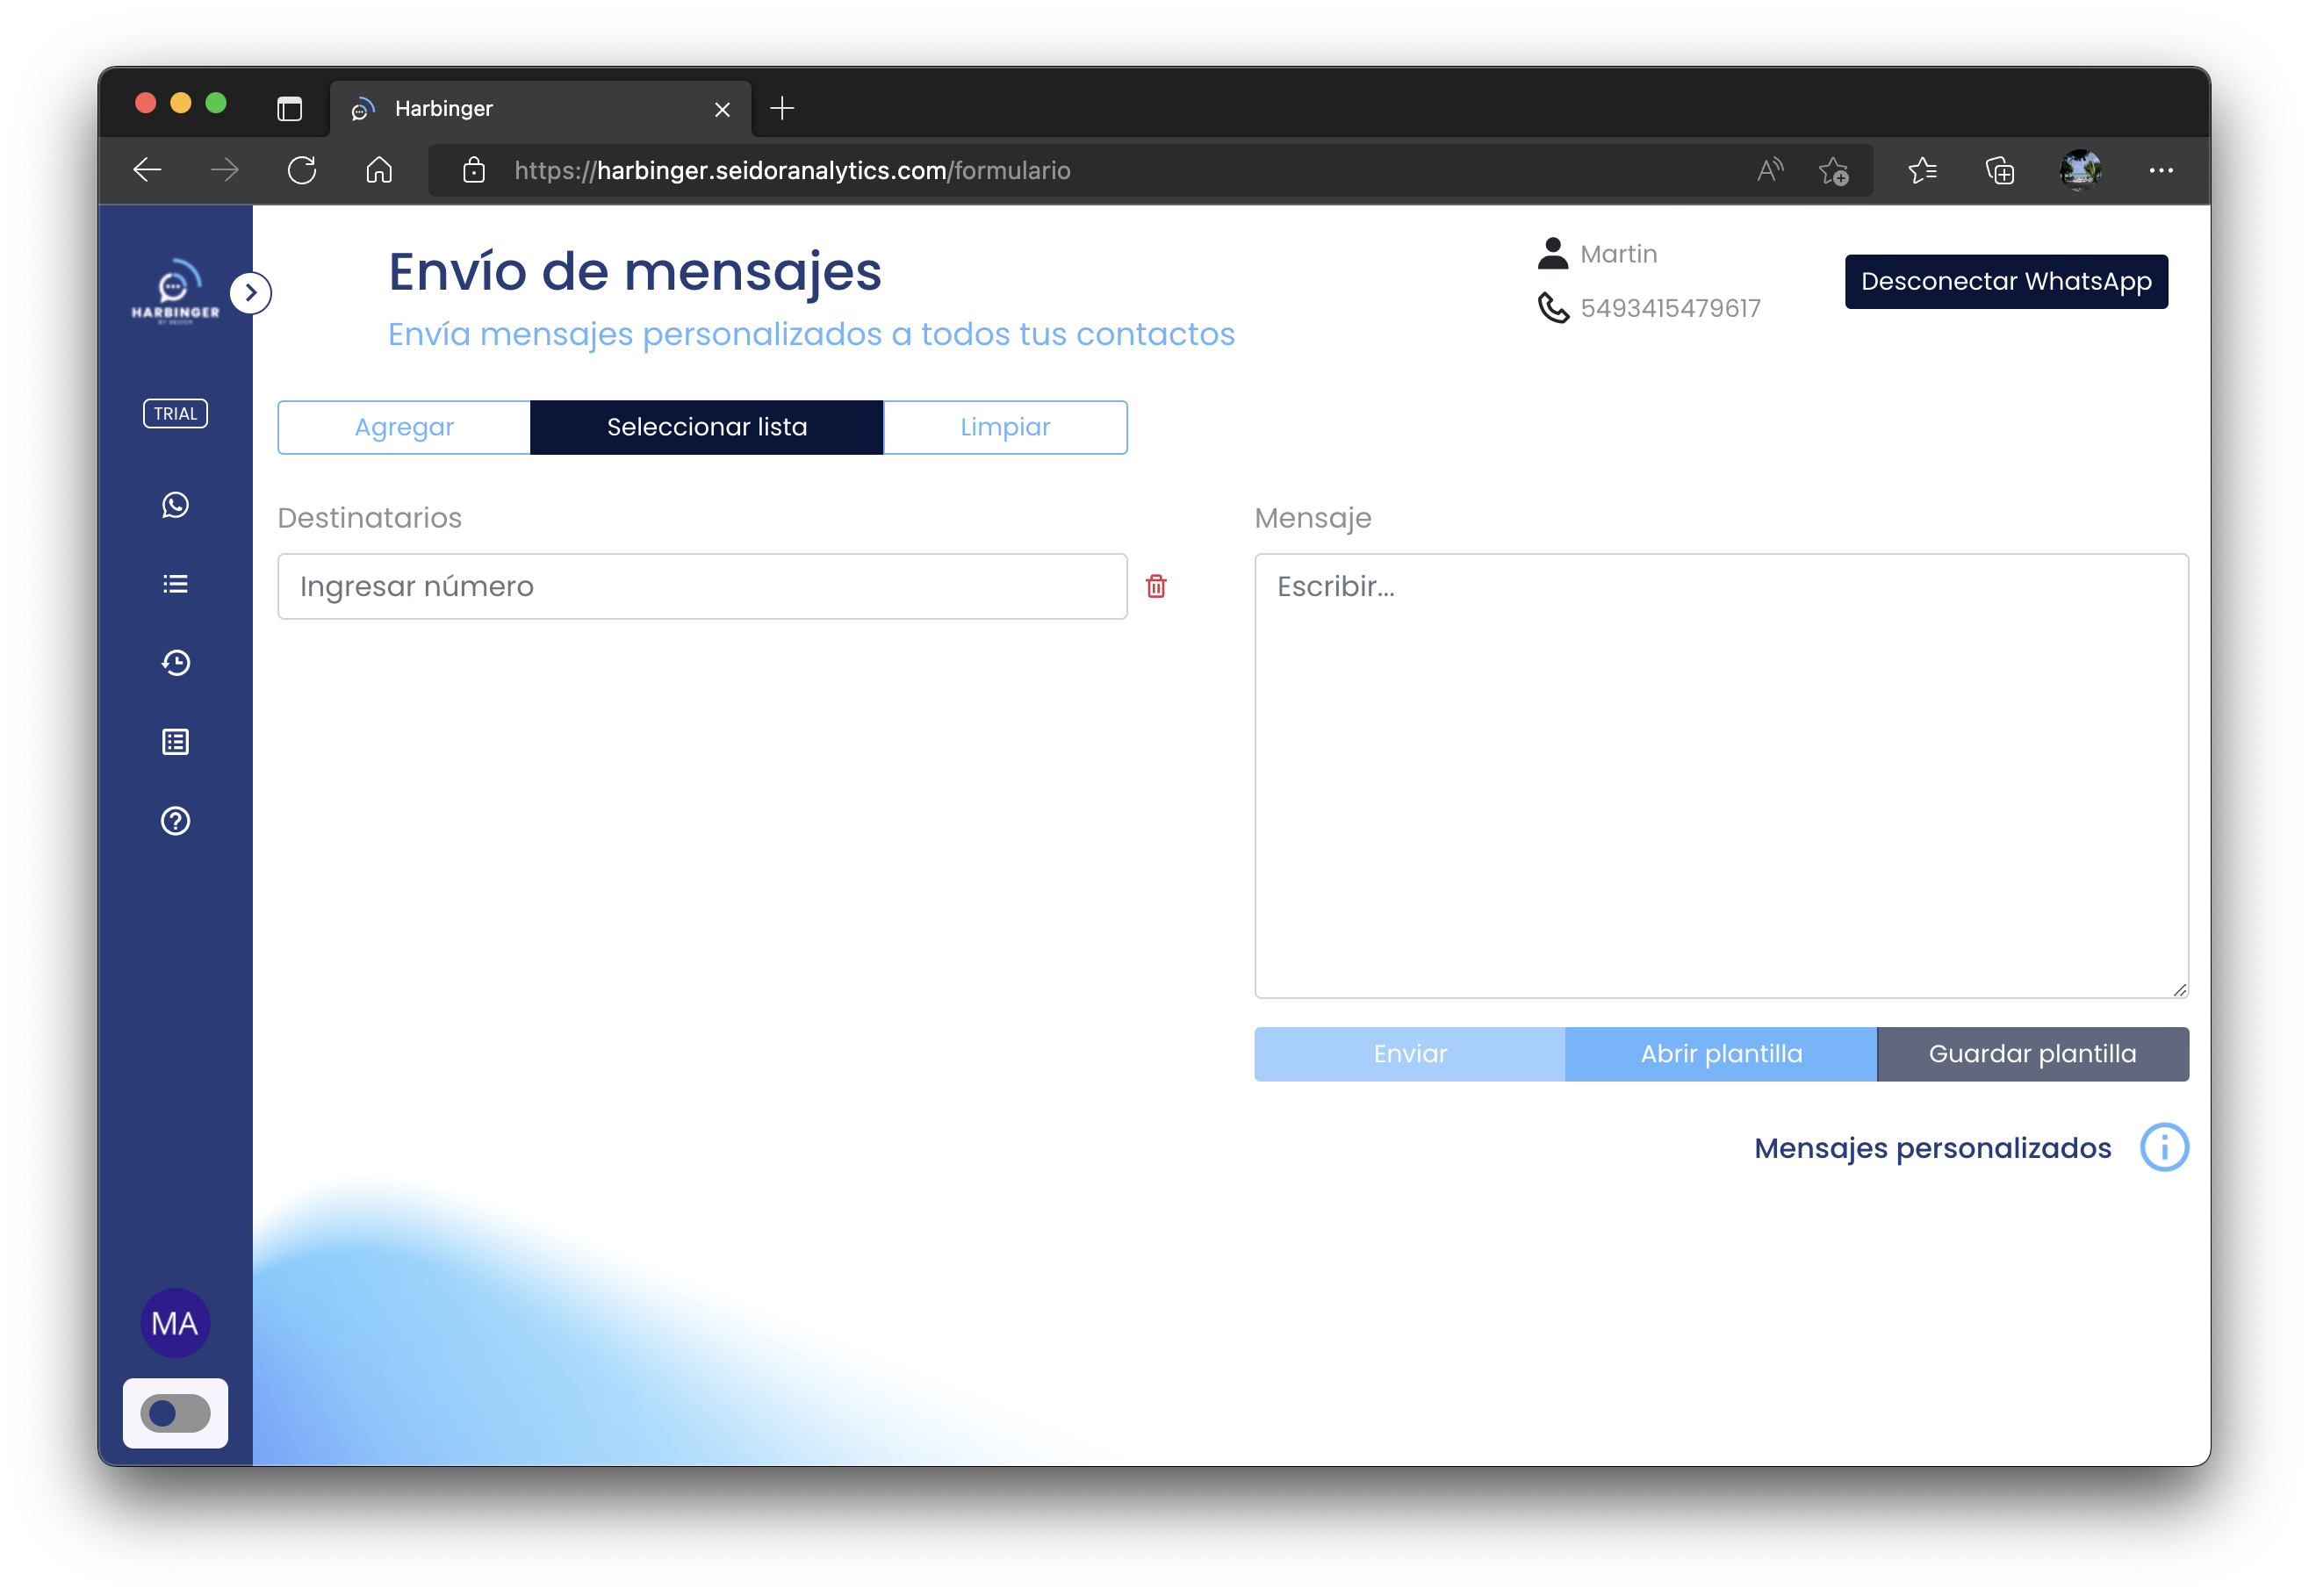
You can disconnect the Whatsapp session at any time by clicking on the Disconnect Whatsapp button.
# Personalized messages
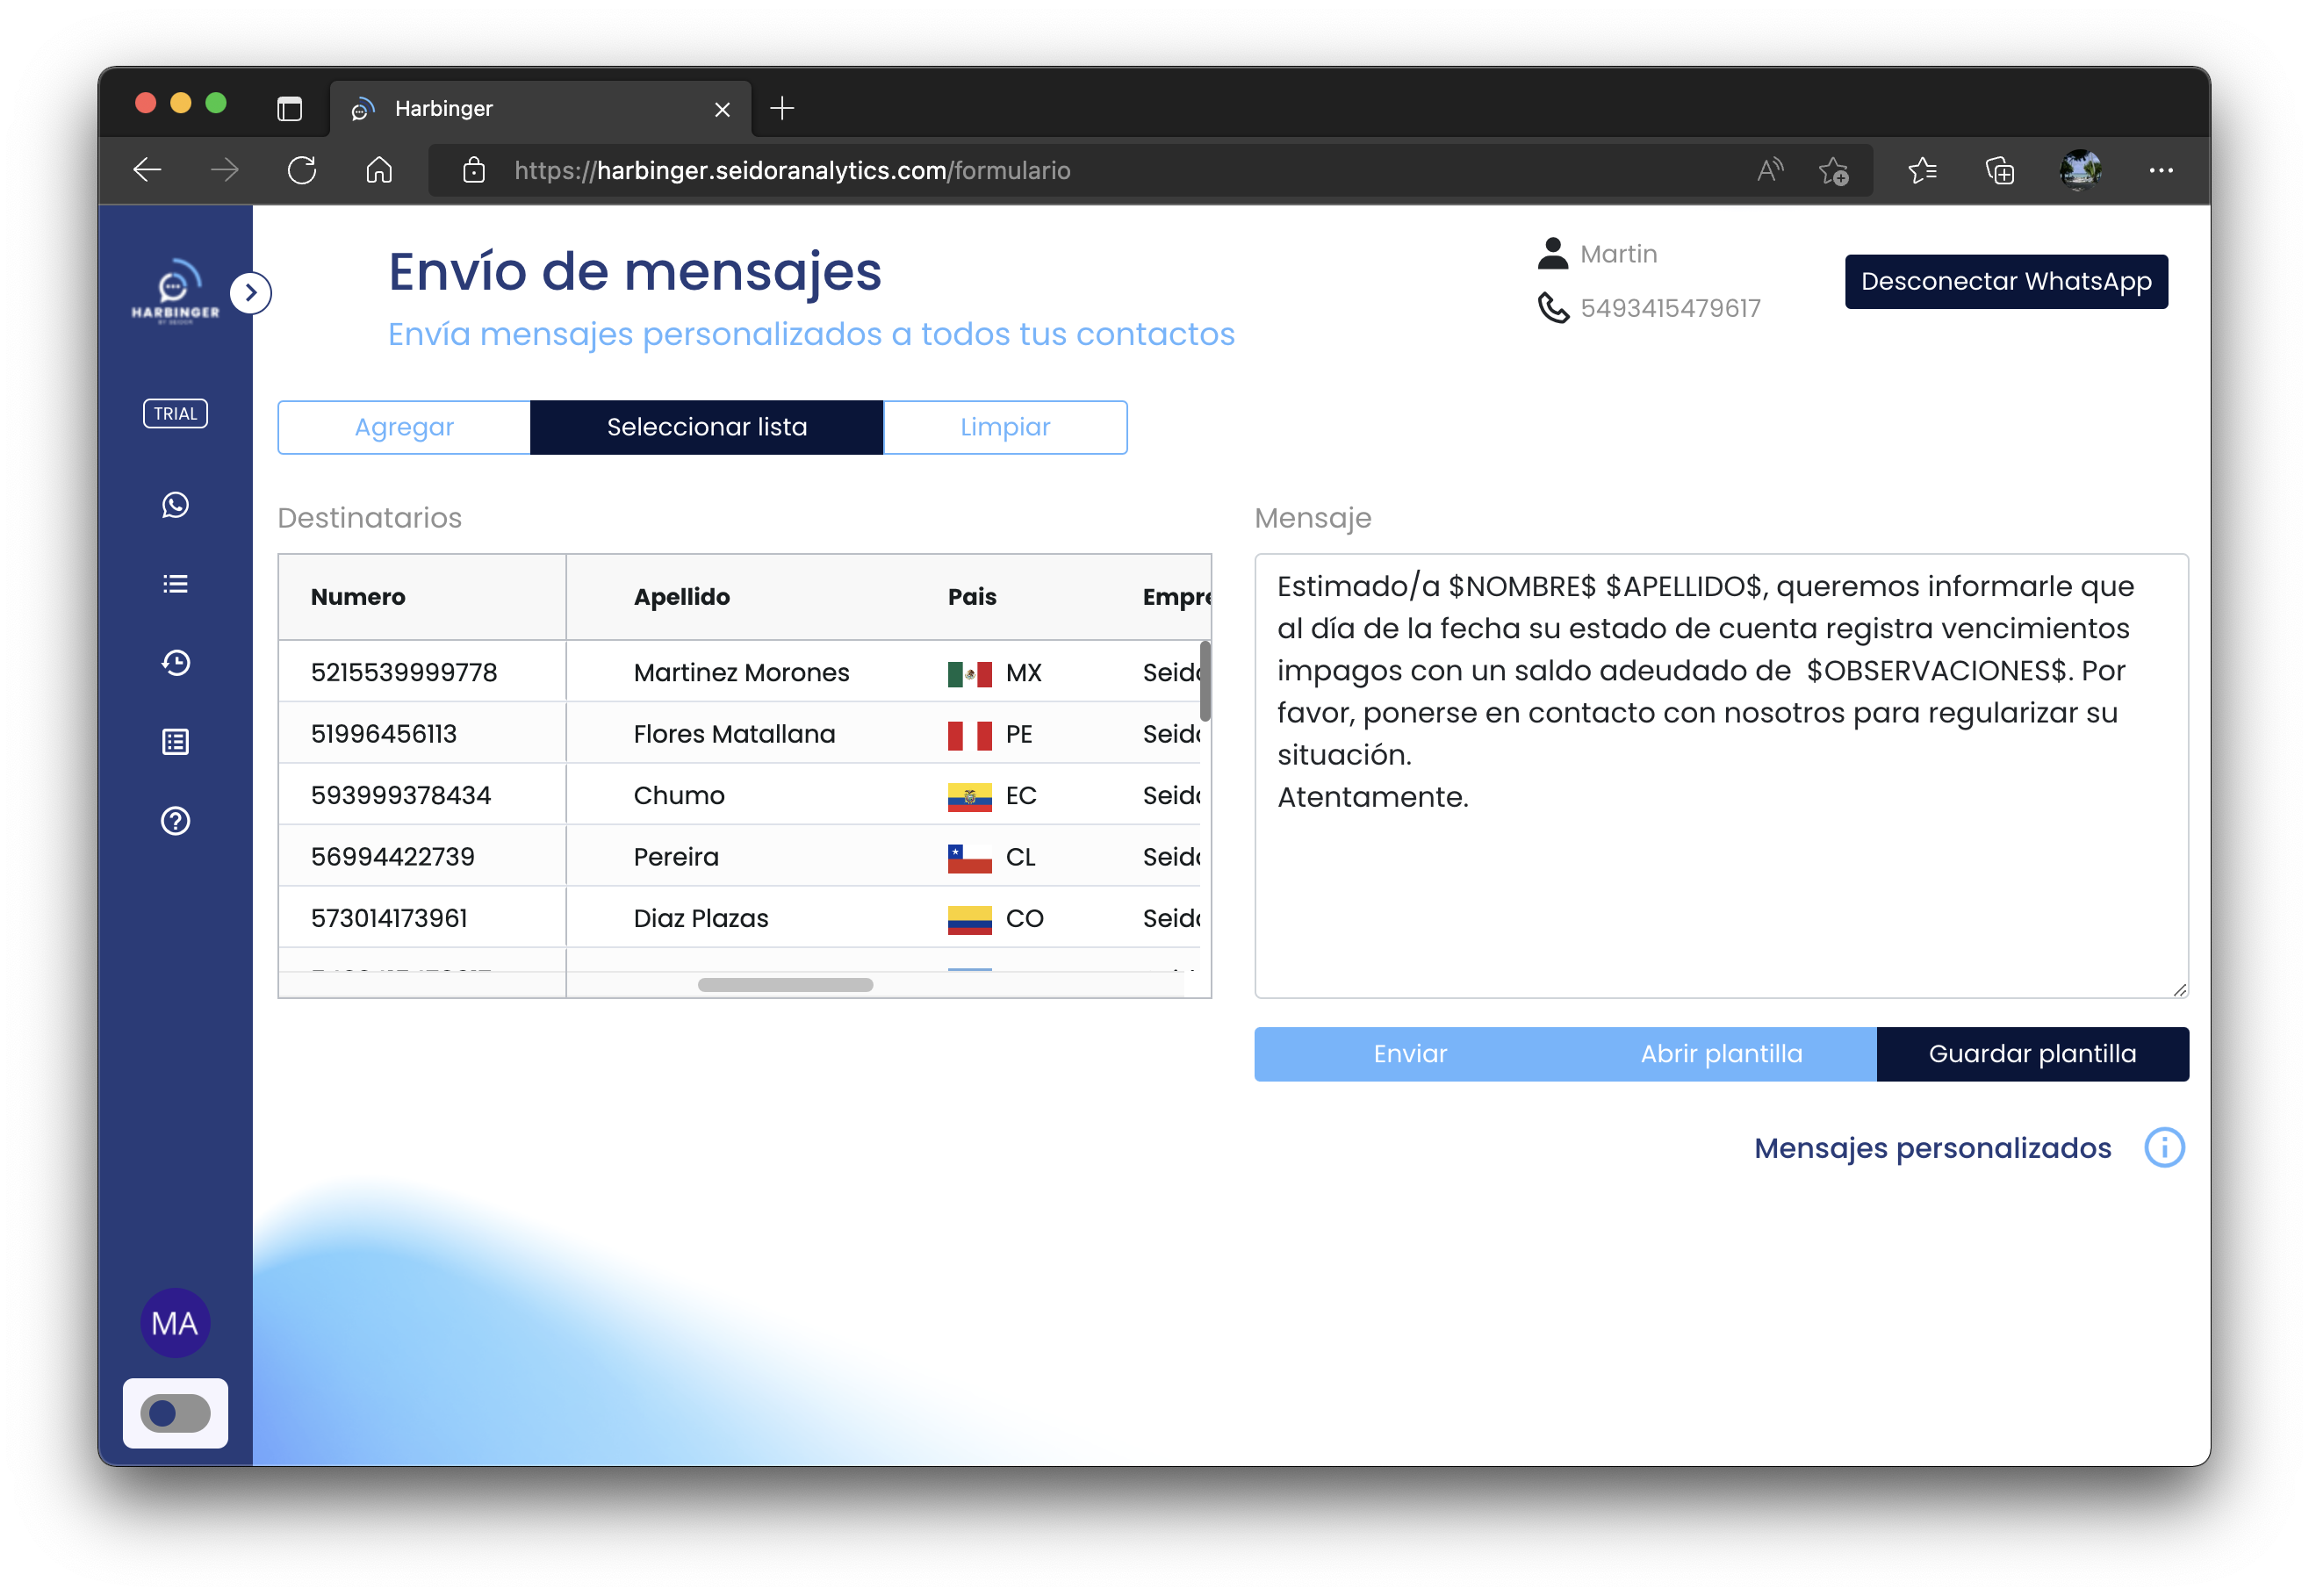
Did you know that your messages can be personalized? Using the following keys: $FIRSTNAME$, $LASTNAME$, $ COMPANY$, $COUNT$, $COUNTRY$, $ COUNTRY$ and $ REMARKS$. It works with both uppercase and lowercase keys.
Important
It is necessary that the contacts are saved in a list.
# Scheduled messages
Configure the messages for some defined schedule or for a repeated schedule.
# List management
This feature allows the creation of recipient lists, to send personalized messages, using the personal information of each contact.
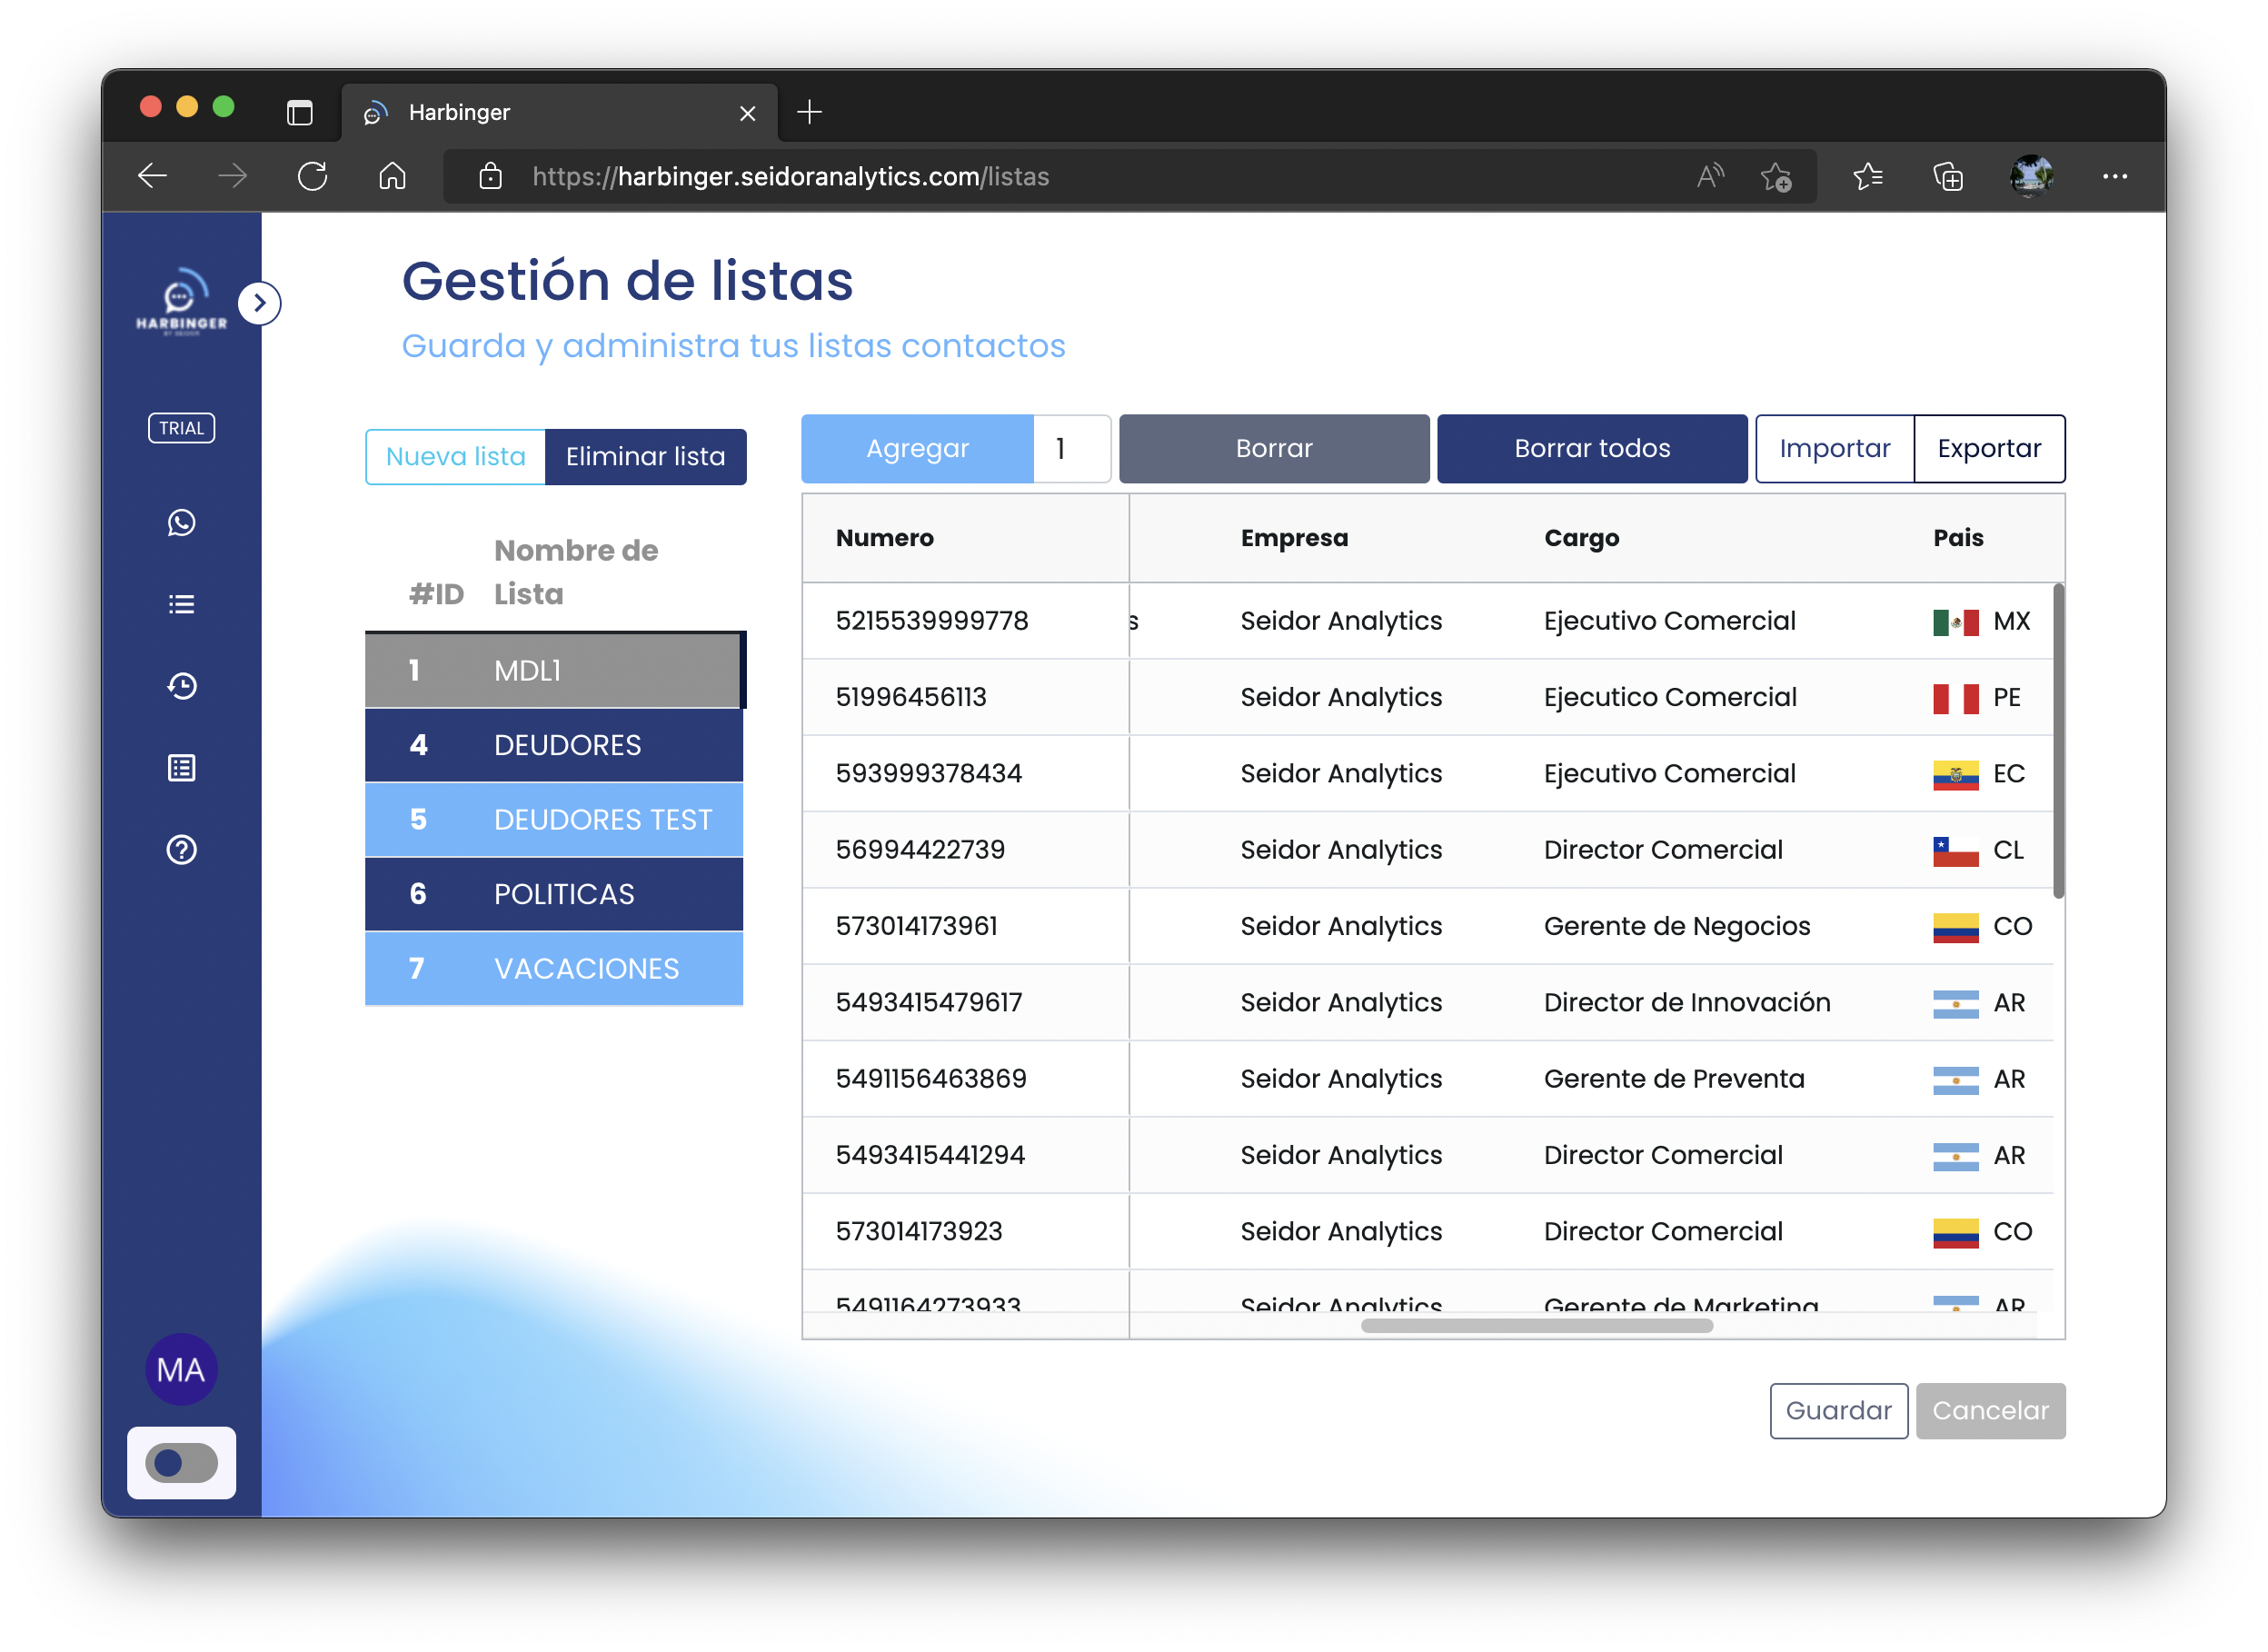
By clicking on the New list button you can add a new list, for which you must designate an identifying name. In the right panel you can define the contacts, which will be the recipients of the automatic sending of messages. The fields to be filled in are:
- Number
- First name
- Last Name
- Company name
- Position
- Country
- Remarks
In the recipient management grid, copy and paste and export and import to/from Excel are available.
# History
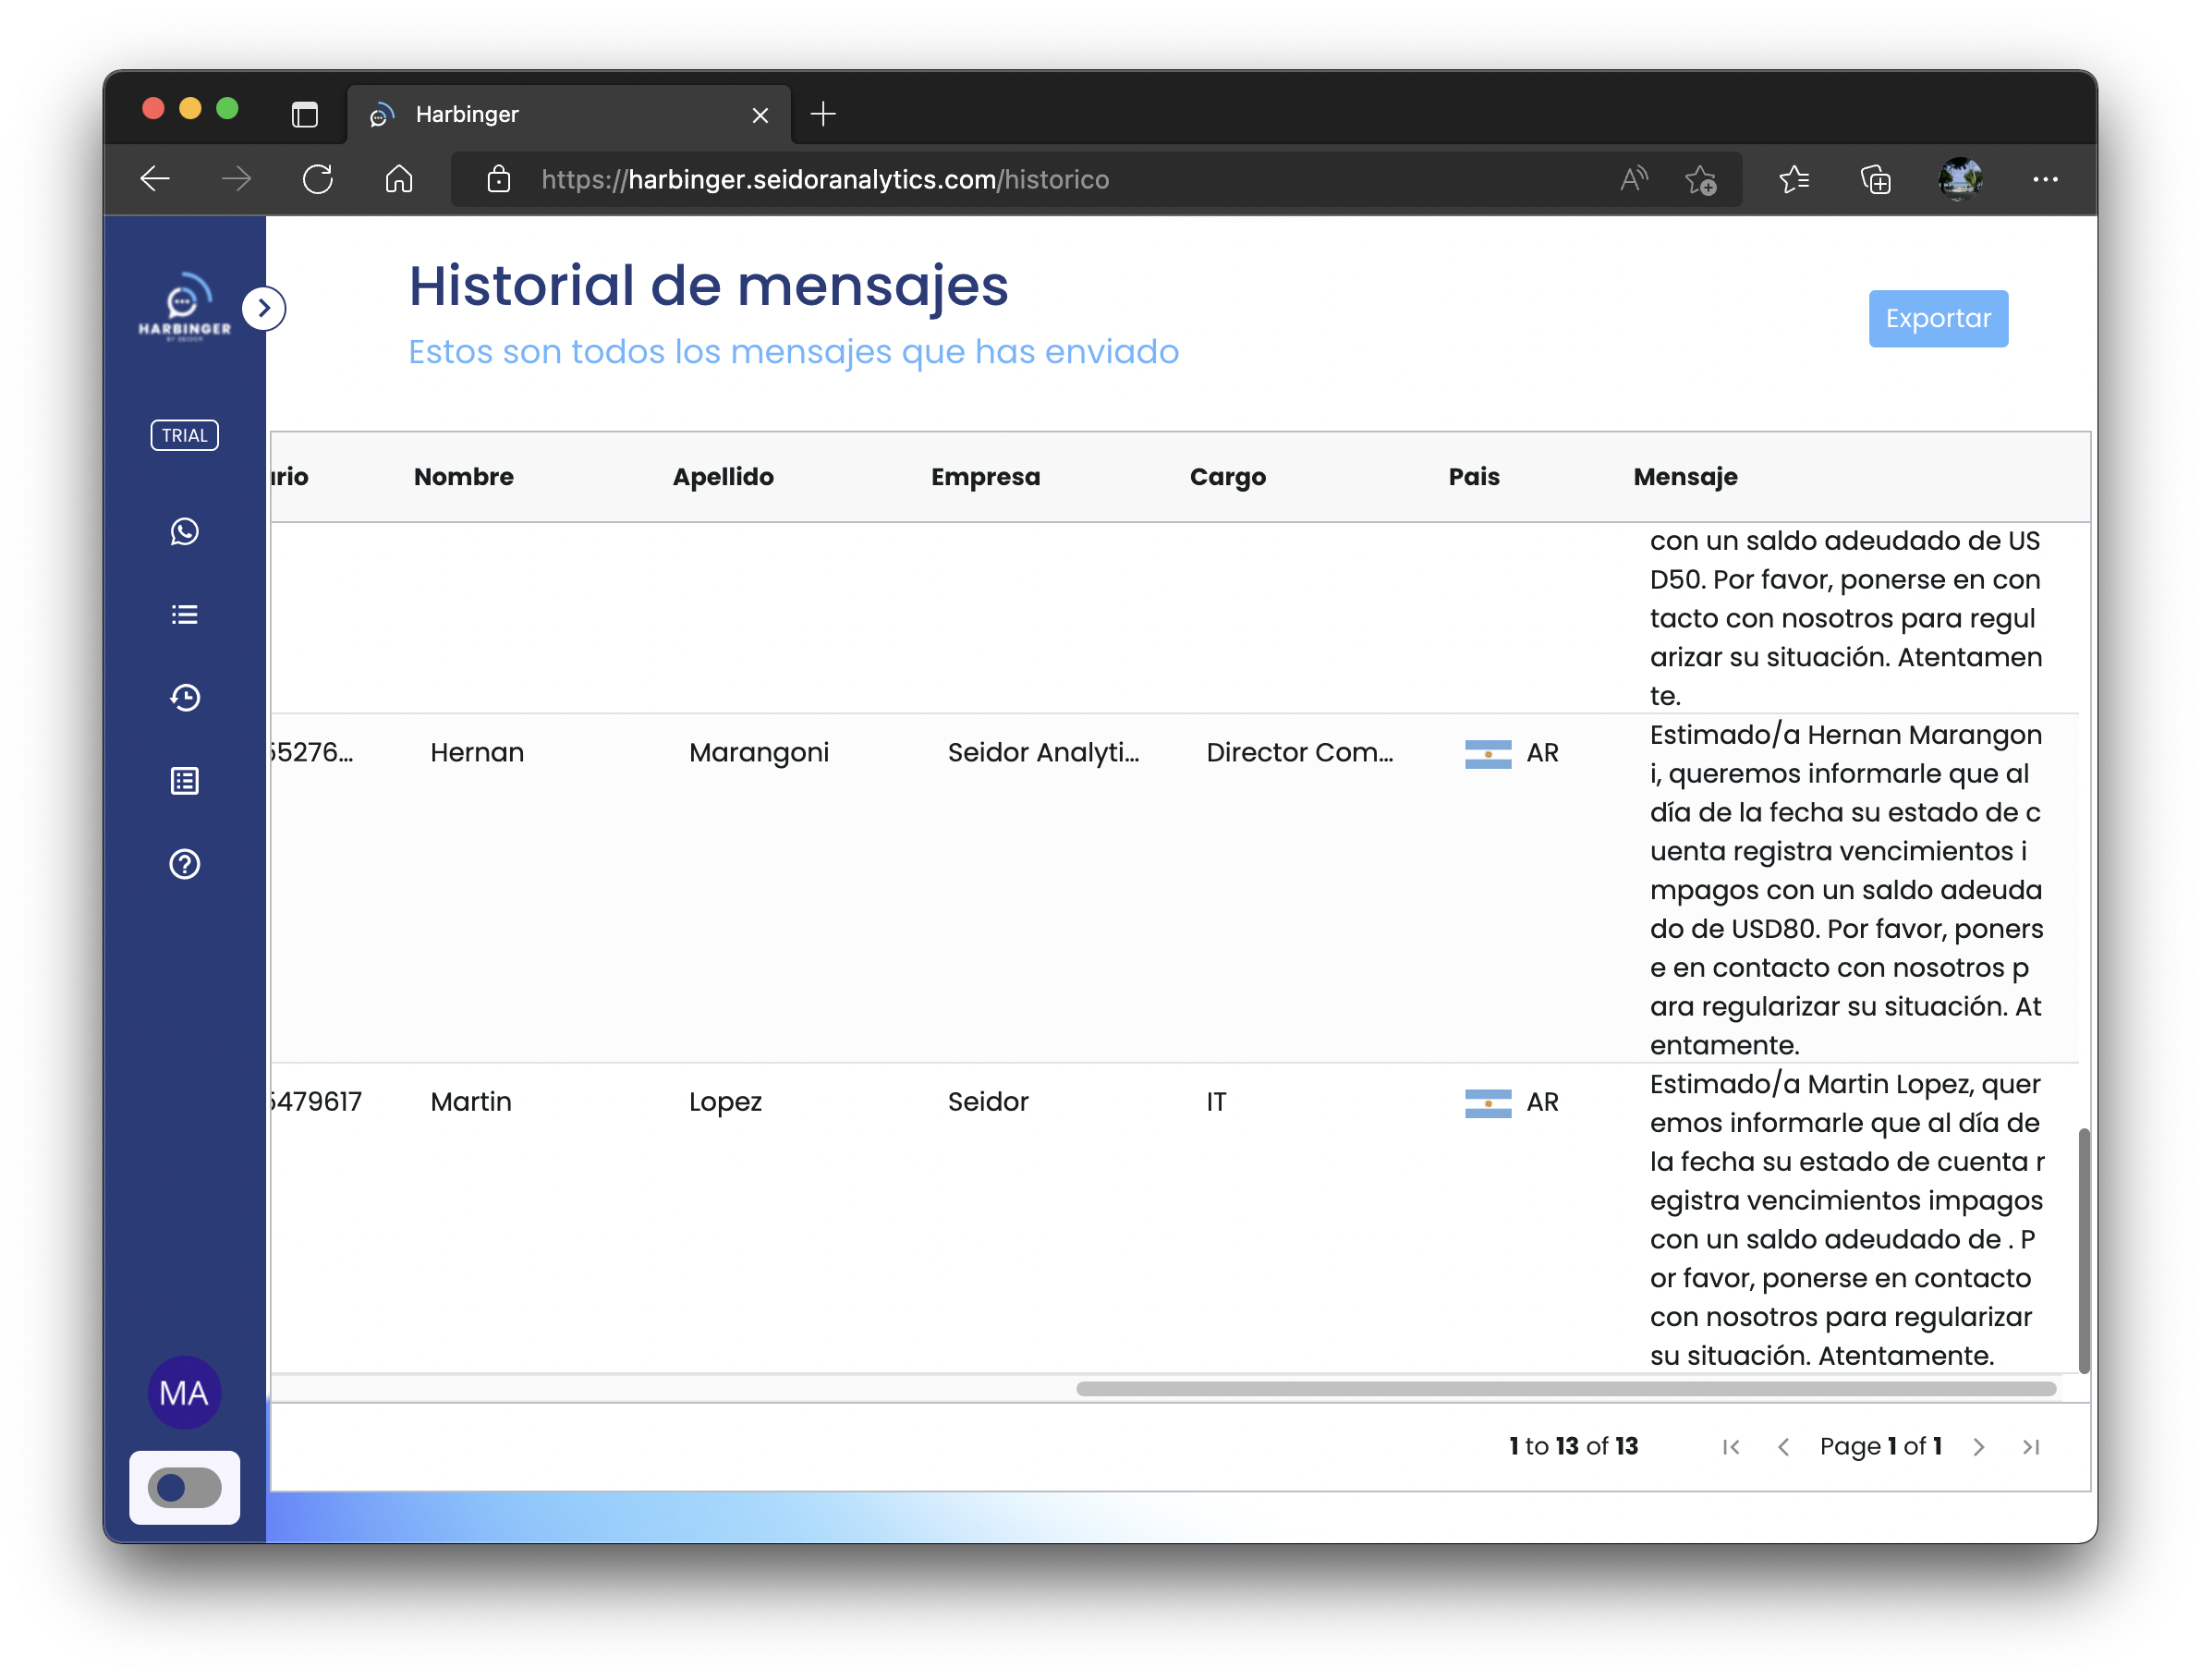
The history feature allows you to view all the detailed information of the shipments you have made over time. You can export the information to an Excel spreadsheet by clicking on the Export button.
# Templates
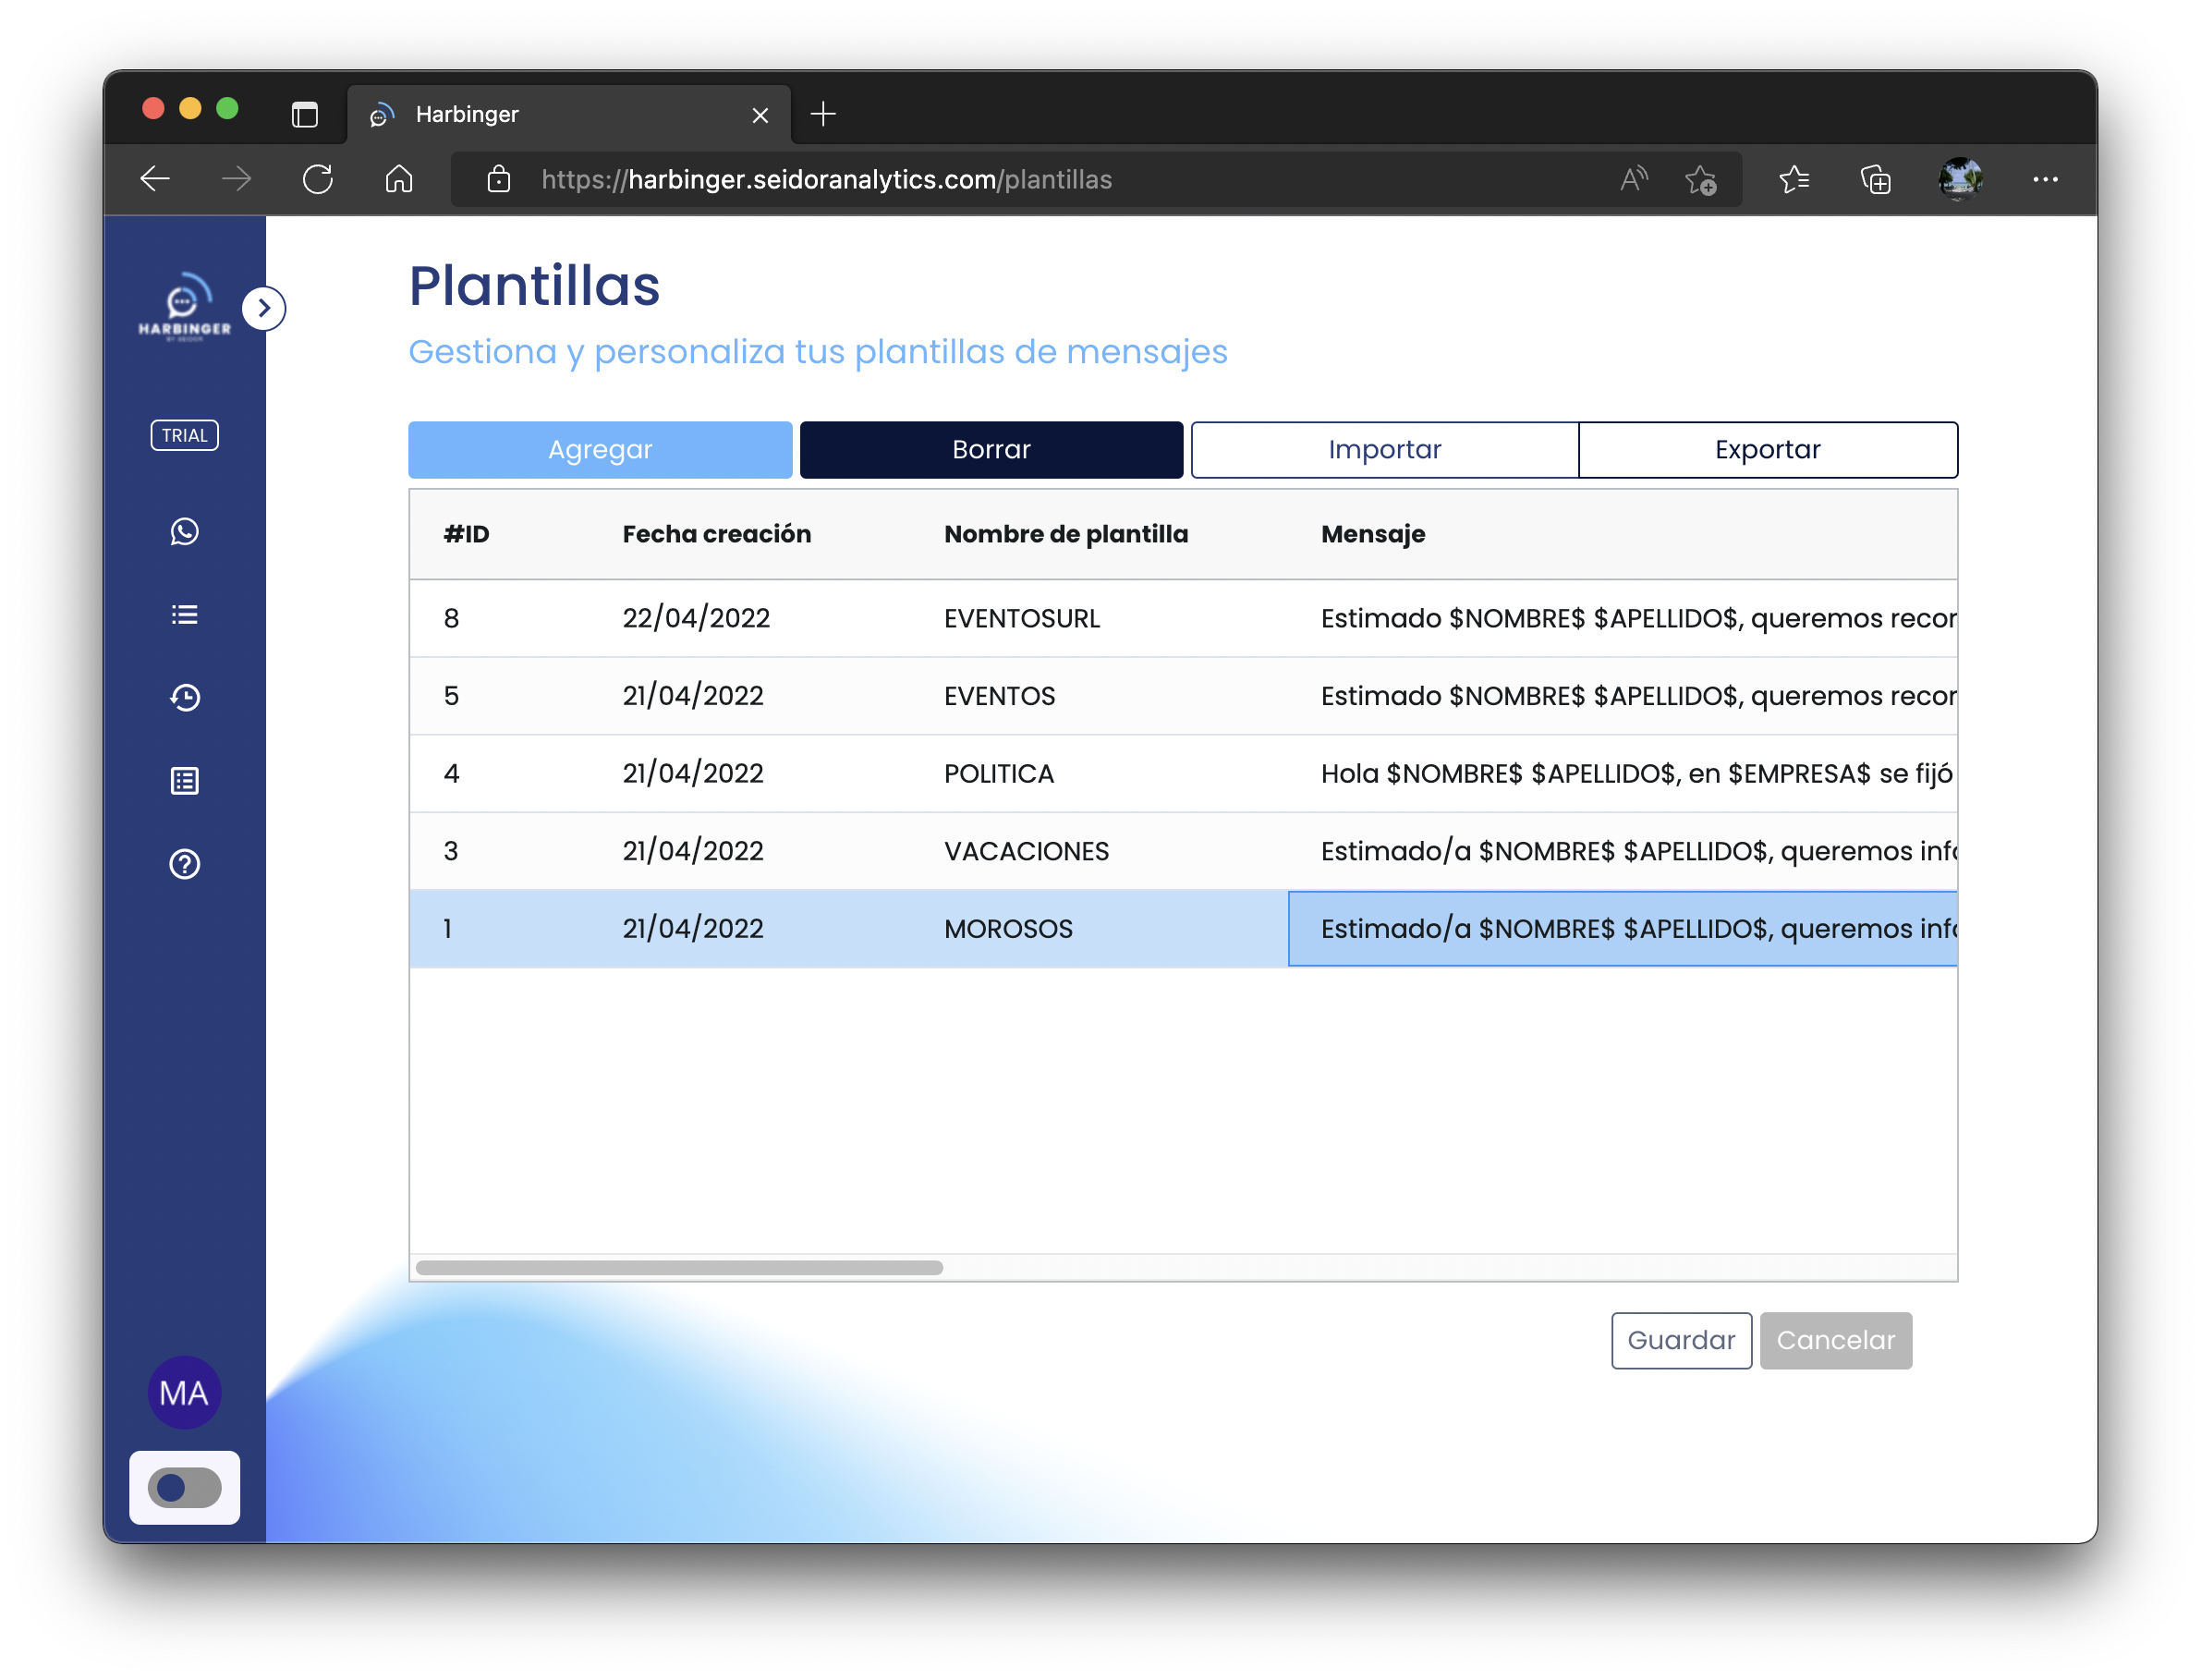
The template functionality allows you to save messages that you use frequently, so that you can have them available for sending at a later time.
The template management screen allows you to create new templates, delete them or edit them by double clicking on the corresponding message.
# Configuration
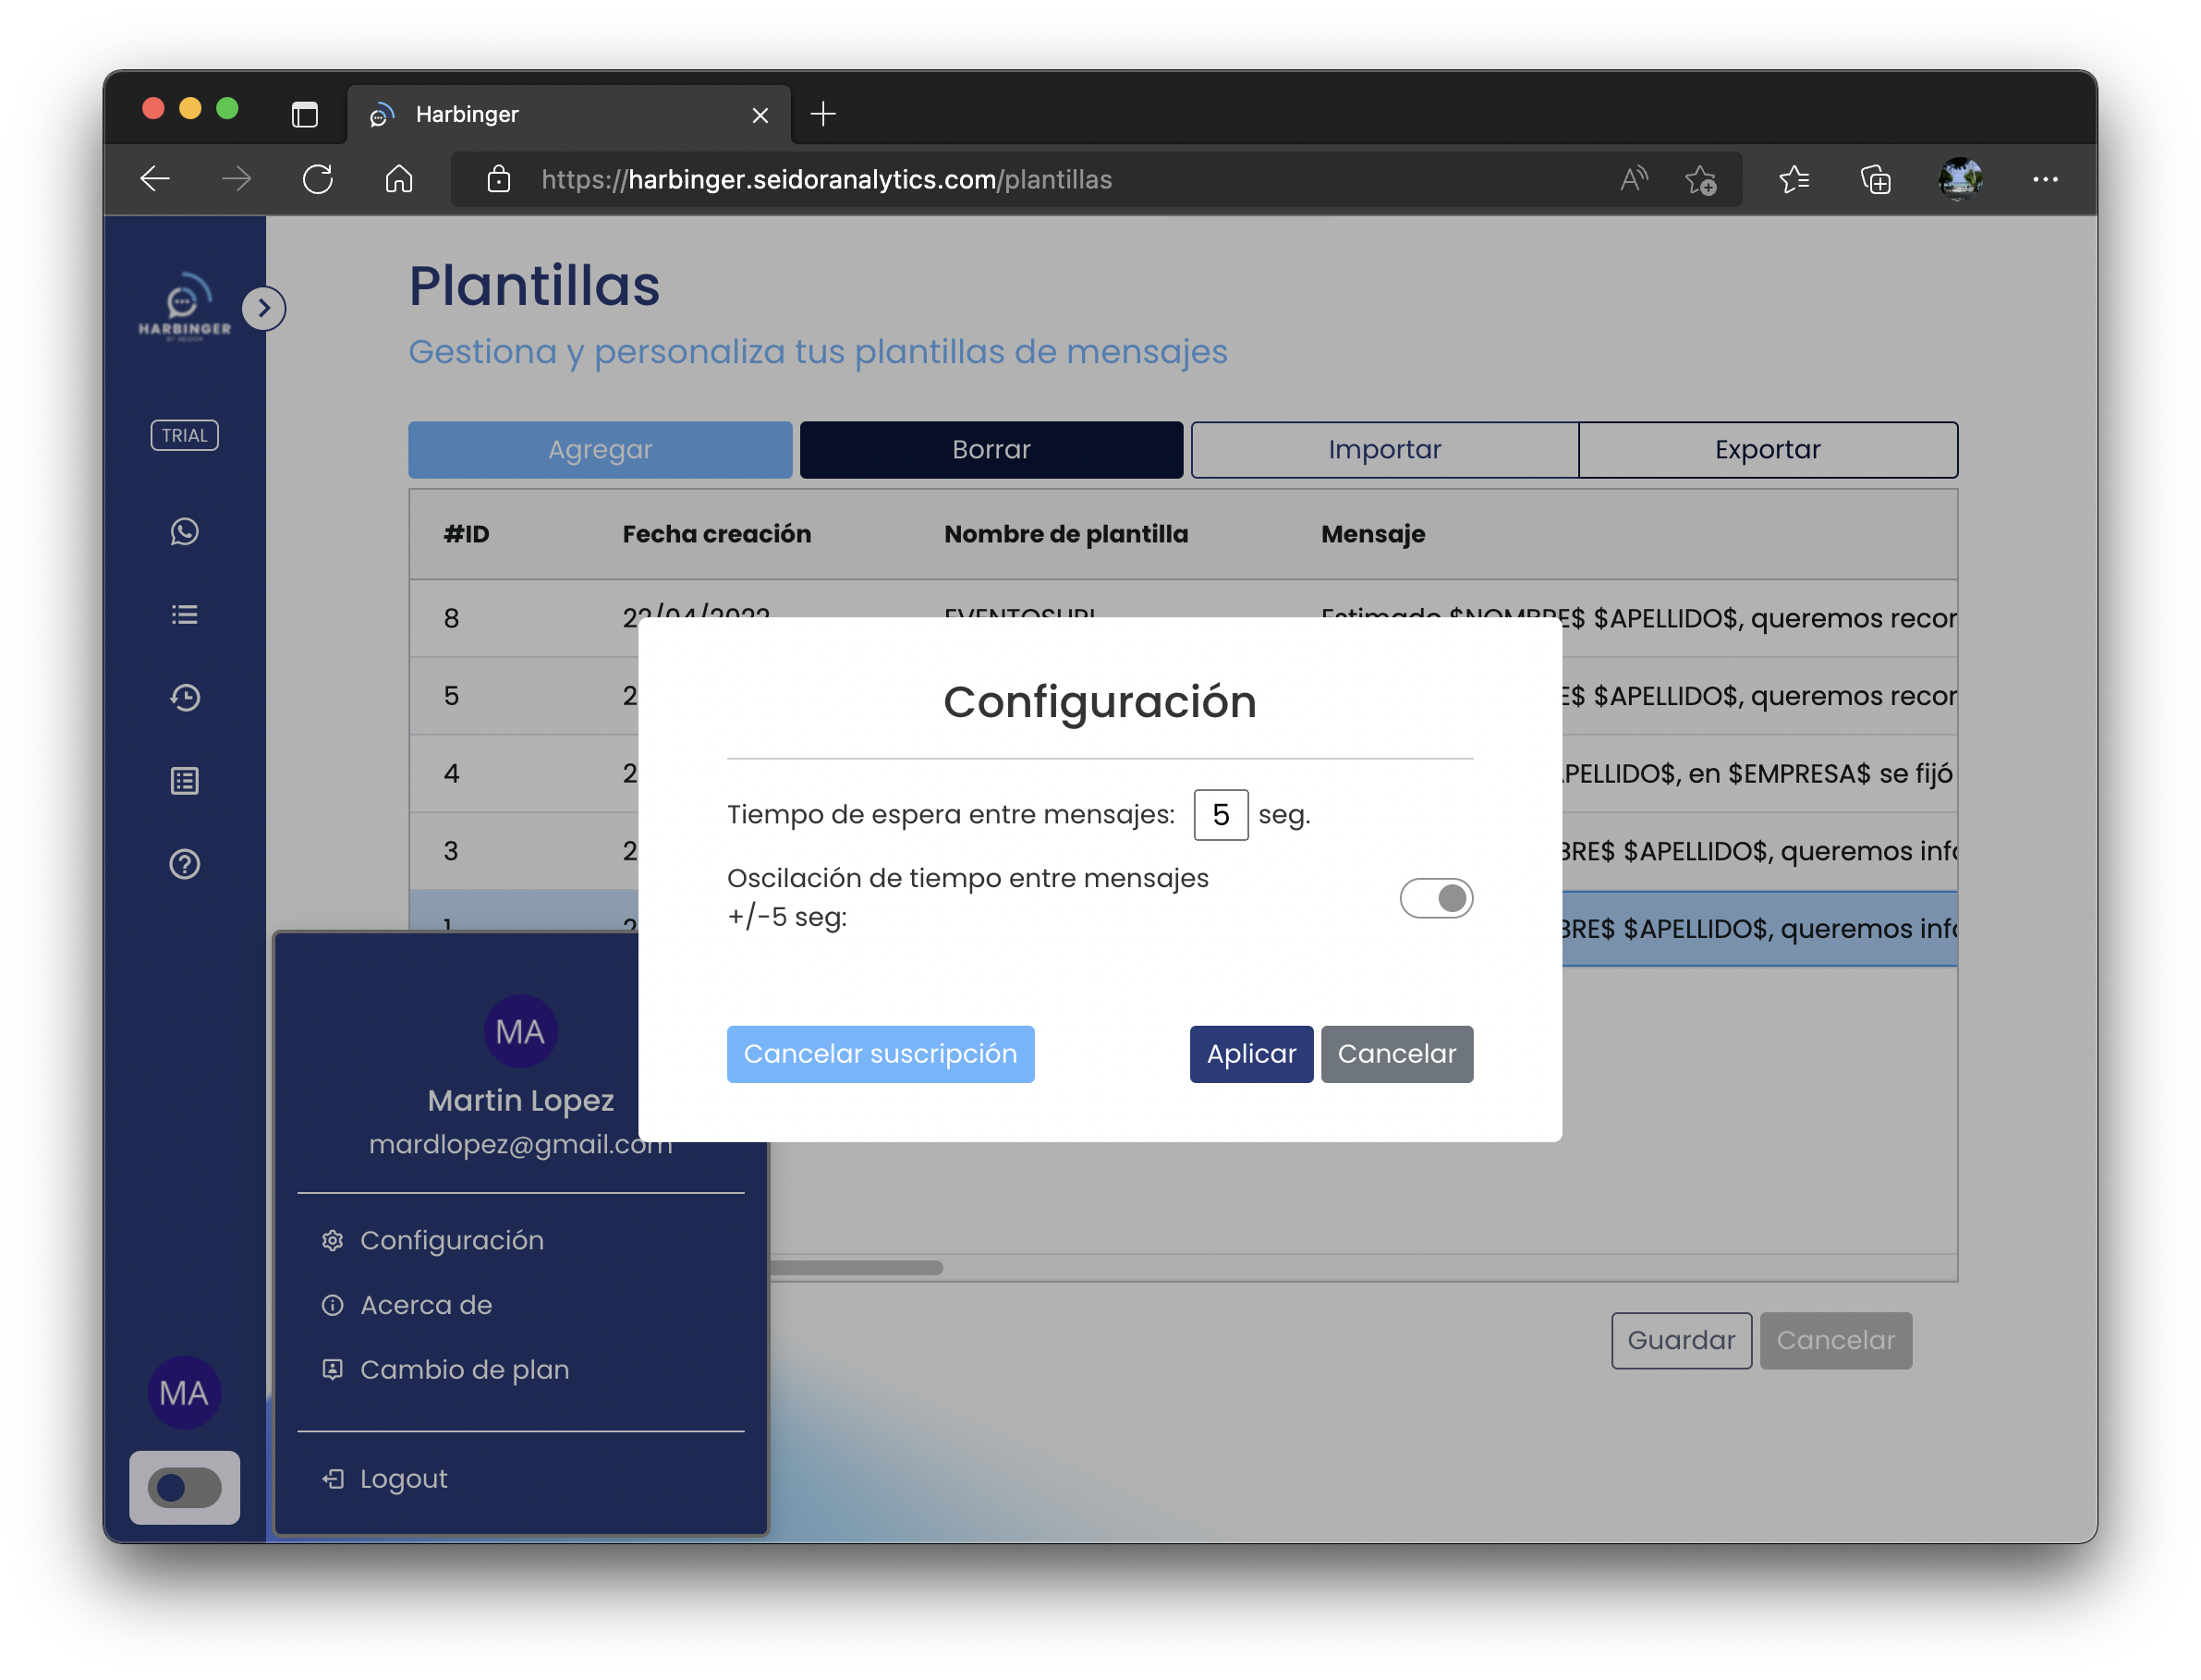
The configuration option allows you to set global properties of the account. You can set the timeout time between each message and the oscillation level set for that timeout time.
# Analytics
With this feature you will be able to view statistical information about the volume of messages sent over time since the start of your subscription.